Dynamic Content
This document explains how to add dynamic content to the Divi Dynamic Gallery plugin.
Once you’ve added the Dynamic Gallery module to your layout, turn on the Use Dynamic Content toggle within the Content section. A new dropdown select, Dynamic Content Source, will appear below the toggle with the following options:
- Custom Field
- Woo Gallery Images
If you are editing a WooCommerce product or template and want to display the Woo product gallery images, select the the Woo Gallery Images option. The module will auto populate the gallery with the product’s Woo gallery images.
If you want to populate the gallery with images from a custom field, leave the default Custom Field selected. In the Dynamic Content Field directly below the dropdown above, enter the custom field name that contains your images. If a custom field with this name is found on the current page, the Dynamic Gallery module will load images from this field if the value is in the proper format.
There are three methods you can use to display images in the gallery:
- Built-in WordPress custom fields
- ACF Pro gallery fields
- Array of image IDs using a filter
WordPress Custom Fields
WordPress comes with custom field support. The interface is not nearly as elegant as ACF but it will get the job done. You can enter a single custom field with comma-separated image IDs or you can enter the same custom field multiple times, with each entry having an image ID.
For example, in the image below the first three custom field name and value pairs create a custom field with name my_custom_image and with values of 46, 52, and 69 – each representing a single image ID. The last custom field name and value pair creates a custom field with name my_custom_images and with a single comma-separated value that consists of all image IDs.
ACF Pro Gallery Fields
The ACF Pro plugin requires a little more setup, but creates a much more elegant interface from which to add your images. Once the gallery field is created and assigned to the post type(s) you want it to be displayed, ACF Pro will add it below the content editor for the assigned post type(s).
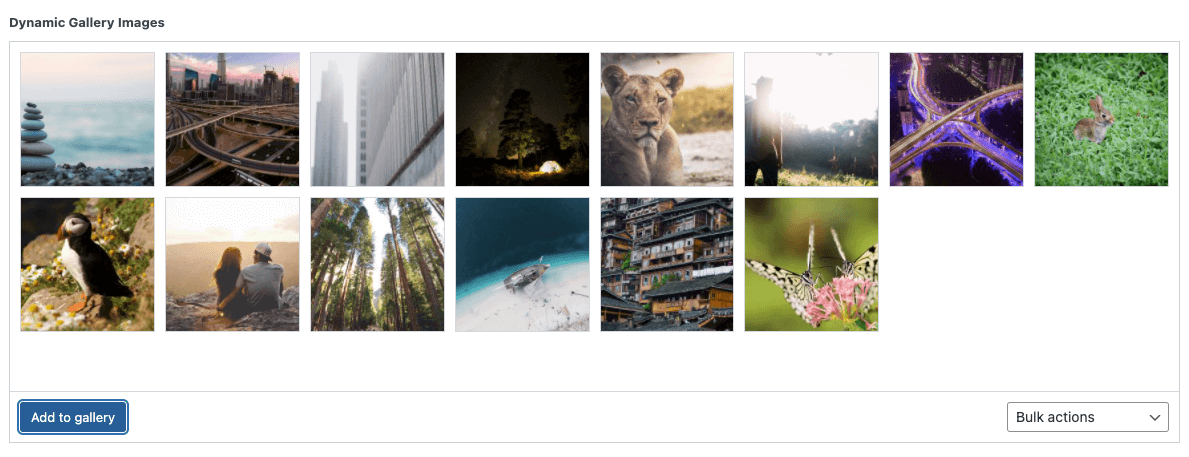
Clicking on the gallery field will load a popup window, allowing you to choose multiple images from your Media Library or upload images. Once the images are chosen and the popup window is closed, you can view or edit your selected images.
* When creating your ACF Pro gallery field, the Field Name is the value you will enter in the Dynamic Content Field discussed at the top of this page.
** ACF Pro has multiple Return Format options when creating the gallery field: Image Array, Image URL, or Image ID. Any format will work.
Custom Image IDs Filter
The third method for displaying images in the gallery is to use a filter. With this option, you have complete control to modify the output of a custom field in the required format – an array of image IDs. In the example below, we convert a comma-separated string of image IDs from a custom field into an array. Notice we are retrieving the name of the custom field as it was entered in the module using $props[‘dynamic_content_field’]. You could enter the custom field name directly in the filter if you prefer.


